写在开头
本文基于《Ruby on Rails最强教科书》中第7章 Rails的最佳实践,其中有部分因为版本迭代问题有所改动
图片上传组件paperclip已过期不再维护,选择了rails新版本自带的Active Storage
学习资源
Ruby on Rails 似乎是通过大量的组件库,来减少开发的周期(DRY(Don’t Repeat Yourself)不重复造轮子),但是开放通用的组件必然会与定制化的业务有冲突(这样也导致了一定的学习门槛),可能深入学习后,可以较为轻松的定制化
基于个人入门学习的一些经验,感觉 Ruby on Rails 像是乐高,有丰富的零部件,你可以按照自己的想法快速的搭建出你需要的东西,但是如果没有足够的经验的话,你的成品就仅仅只是玩具
本文最终产物甚至于连玩具都算不上,仅仅是浅尝辄止的初步了解
环境安装参考RVM 实用指南
需要注意的是rails是充血模型,与Java的贫血模型是完全相反的设计理念
环境依赖数据库:PostgreSQL、缓存:Redis,个人推荐使用docker安装,其他方式也可,只要可以使用
ruby国内官网ruby-china.org 如果是找工作不推荐学习ruby,个人兴趣多学一门语言是推荐的,ruby的一些设计理念还是很不错的
引用博文
part-1-rails-active-storage-1ikh Ruby学习指南 Rails 入门-官方指导手册
创建新的Project
在指定的工程目录,执行rails new ProjectName,等待命令执行结束,执行结束后,将会在当前目录下创建新的目录,目录名为指定的ProjectName,内容是一个基础的Rails工程
进入工程目录,执行rails s(rails server的简写版)启动服务,然后浏览器访问http://127.0.0.1:3000/就可以看到欢迎界面了,恭喜你,踏出了在Rails上的第一步
调整Gemfile 数据库gem,不调整也可,只是后续数据库操作使用sqlite3 1 2 3 4 5 6 7 gem 'sqlite3' , '~> 1.4' gem 'pg' , '~> 1.1'
注:还需额外工作才能完成数据库的切换操作
在工程根目录执行命令bundle update, 执行命令bundle install
修改数据库配置文件config/database.yml1 2 3 4 5 6 7 8 9 10 11 12 13 14 15 16 17 18 19 20 21 22 default: &default adapter: postgresql encoding: unicode pool: <%= ENV .fetch("RAILS_MAX_THREADS" ) { 5 } %> username: postgres password: 123456 host: localhost port: 5432 development: <<: *default database: RailsCombineDemo_development test: <<: *default database: RailsCombineDemo_test production: <<: *default database: RailsCombineDemo_production
在工程根目录执行命令rails db:create
development环境添加调试辅助组件 1 2 3 4 5 group :development do gem 'better_errors' gem 'binding_of_caller' ... end
代码风格纠错工具(也可以帮助进行代码简化) 1 2 3 4 group :development do ... gem 'rubocop' end
注:需要额外工作完成相关配置
在工程根目录执行命令bundle install
在工程根目录下,执行命令bundle exec rubocop --auto-gen-config,生成文件.rubocop_todo.yml
在工程根目录下,创建文件.rubocop.yml,填充内容为1 2 3 4 5 6 7 8 9 10 11 12 13 14 15 16 17 18 inherit_from: .rubocop_todo.yml AllCops: NewCops: enable Exclude: - 'bin/**/*' - 'db/*' Documentation: Enabled: false Metrics/LineLength: Max: 120 Metrics/BlockLength: Exclude: - spec/**/* - config/**/*
在工程根目录,执行命令bundle exec rubocop,检查代码风格问题
推荐使用IDE - RubyMine ,配置好rubocop后,在开发过程中会自动提示优化项
模型表结构注释组件 1 2 3 4 group :development do ... gem 'annotate' end
在工程根目录执行命令bundle install
在工程根目录执行命令rails g annotate:install1 2 Running via Spring preloader in process 71811 create lib/tasks/auto_annotate_models.rake
环境变量管理组件 1 gem 'dotenv-rails' , groups: [:development , :test ]
在工程根目录执行命令bundle install
在工程根目录执行命令touch .env创建环境变量管理文件
在文件.gitignore中添加 .env 不提交环境变量信息到git中
至此,初步的组件以来就都装好了,接下来将会学习devise、mail、sidekiq、image_processing、kaminari、counter_culture、activeadmin组件的入门使用
Hello World
在工程根目录执行命令rails g controller home 生成首页controller
修改路由配置文件.../config/routes.rb ,添加路由配置root 'home#index'
修改对应的controller -> .../app/controllers/home_controller.rb,添加对应方法函数定义1 2 3 4 class HomeController < ApplicationController def index end end
制作首页视图,创建文件.../app/views/home/index.html.erb,添加内容<h1>Hello World!</h1>
在项目根目录执行命令rails s启动服务,并访问http://127.0.0.1:3000/即可看到首页内容
用户登录认证(devise)
在Gemfile中添加对应gem 'devise'
在工程根目录执行命令bundle install
在工程根目录执行命令rails g devise:install,控制台输出为1 2 3 4 5 6 7 8 9 10 11 12 13 14 15 16 17 18 19 20 21 22 23 24 25 26 27 28 29 30 31 32 33 34 35 36 37 38 39 Running via Spring preloader in process 49687 create config/initializers/devise.rb create config/locales/devise.en.yml =============================================================================== Depending on your application's configuration some manual setup may be required: 1. Ensure you have defined default url options in your environments files. Here is an example of default_url_options appropriate for a development environment in config/environments/development.rb: config.action_mailer.default_url_options = { host: 'localhost', port: 3000 } In production, :host should be set to the actual host of your application. * Required for all applications. * 2. Ensure you have defined root_url to *something* in your config/routes.rb. For example: root to: "home#index" * Not required for API-only Applications * 3. Ensure you have flash messages in app/views/layouts/application.html.erb. For example: <p class="notice"><%= notice %></p> <p class="alert"><%= alert %></p> * Not required for API-only Applications * 4. You can copy Devise views (for customization) to your app by running: rails g devise:views * Not required * ===============================================================================
修改配置文件.../config/environments/development.rb,添加配置config.action_mailer.default_url_options = { host: 'localhost', port: 3000 }
添加辅助信息打印,在.../app/helpers/application_helper.rb中添加1 2 3 4 5 6 def flash_message (message, klass ) content_tag(:div , class: "alert alert-#{klass} " ) do concat content_tag(:button , 'x' , class: 'close' , data: { dismiss: 'alert' }) concat raw(message) end end
在.../app/views/layouts/application.html.erb中添加1 2 3 4 5 6 7 8 9 <body > ... <div > <%= flash_message(flash[:success], :success) if flash[:success] %> <%= flash_message(flash[:error], :error) if flash[:error] %> <%= flash_message(flash[:alert], :alert) if flash[:alert] %> <%= flash_message(flash[:notice], :notice) if flash[:notice] %> </div > </body >
在工程根目录执行命令rails g devise:views生成视图
在工程根目录执行命令rails secret发行密钥
在环境变量配置文件.../.env中添加配置SECRET_TOKEN=,并将上一步生成的密钥配置在其中
在配置文件.../config/initializers/devise.rb添加配置1 2 3 4 5 Devise.setup do |config | ... config.secret_key = ENV .fetch("DEVISE_SECRET_TOKEN" ) ... end
在工程根目录执行命令rails g devise user生成用户模型
修改数据库迁移文件.../db/migrate/20221225161206_devise_create_users.rb,将1 2 3 4 5 6 7 8 9 10 11 12 13 14 ... t.string :confirmation_token t.datetime :confirmed_at t.datetime :confirmation_sent_at t.string :unconfirmed_email t.integer :failed_attempts , default: 0 , null: false t.string :unlock_token t.datetime :locked_at ... add_index :users , :confirmation_token , unique: true add_index :users , :unlock_token , unique: true
在模型文件.../app/models/user.rb,添加devise配置:confirmable, :lockable, :timeoutable1 2 3 4 5 class User < ApplicationRecord devise :database_authenticatable , :registerable , :recoverable , :rememberable , :validatable , :confirmable , :lockable , :timeoutable end
在工程根目录执行命令rails db:migrate完成数据库表结构升级
在.../app/helpers/application_helper.rb中添加字符串常量1 2 3 4 module ApplicationHelper APP_NAME = 'RailsCombineDemo' .freeze ... end
创建文件.../app/views/layouts/_header.html.erb,并填充代码1 2 3 4 5 6 7 8 9 10 11 12 13 14 <nav > <a href ="/" > <%= ApplicationHelper::APP_NAME %></a > <% if user_signed_in? %> <ul > <li > <%= link_to "个人信息编辑", edit_user_registration_path %> </li > <li > <%= link_to "退出", destroy_user_session_path, method: :delete %> </li > </ul > <% end %> </nav >
在.../app/views/layouts/application.html.erb中的<body>中添加<%= render "layouts/header" %>将header文件渲染
在.../app/controllers/application_controller.rb中添加拦截action1 2 3 class ApplicationController < ActionController::Base before_action :authenticate_user! end
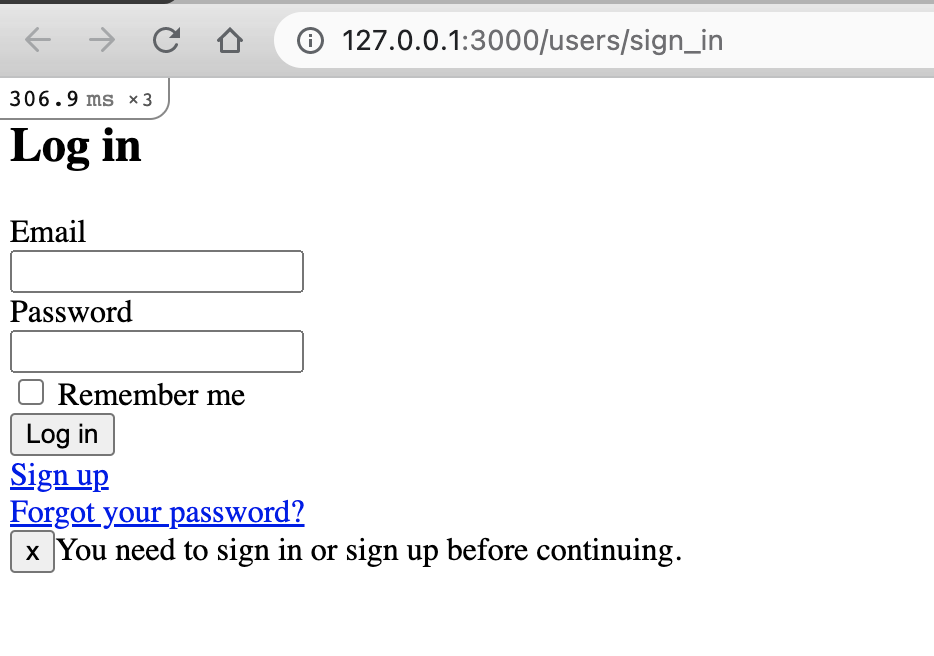
在工程根目录执行命令rails s启动服务,并访问http://127.0.0.1:3000/,将会看到登录界面
用户注册发送确认邮件(Action Mailer、SideKiq)
大部分的邮件服务提供商都可以开启SMTP服务,可以先将自己的某个邮件开启SMTP服务后再继续
在配置文件.../config/environments/development.rb中添加配置1 2 3 4 5 6 7 8 9 10 11 12 13 Rails.application.configure do ... config.action_mailer.delivery_method = :smtp config.action_mailer.smtp_settings = { address: ENV .fetch('MAILER_SMTP_ADDRESS' ), port: ENV .fetch('MAILER_SMTP_PORT' ), authentication: ENV .fetch('MAILER_SMTP_AUTHENTICATION' ), user_name: ENV .fetch('MAILER_SMTP_USER_NAME' ), password: ENV .fetch('MAILER_SMTP_PASSWORD' ), enable_starttls_auto: ActiveModel::Type::Boolean.new.cast(ENV .fetch('MAILER_SMTP_ENABLE_STARTTLS_AUTO' , true )) } end
在环境变量配置文件.../.env中添加配置1 2 3 4 5 6 MAILER_SMTP_ADDRESS=smtp.qq.com MAILER_SMTP_PORT=587 MAILER_SMTP_AUTHENTICATION=plain MAILER_SMTP_USER_NAME= MAILER_SMTP_PASSWORD= MAILER_SMTP_ENABLE_STARTTLS_AUTO=true
修改配置文件.../config/initializers/devise.rb中 config.mailer_sender = ENV.fetch("MAILER_SMTP_USER_NAME"),确保权限控制组件可以使用指定的邮件服务发送邮件
安装redis,推荐使用docker安装,方便管理
在.../Gemfile中添加配置gem 'sidekiq'
在工程根目录执行命令bundle install安装gem
在配置文件.../config/application.rb中添加配置config.active_job.queue_adapter = :Sidekiq
添加配置文件.../config/initializers/sidekiq.rb,添加配置1 2 3 4 5 6 7 8 9 10 11 12 Sidekiq.configure_client do |config | config.redis = { url: ENV .fetch('REDIS_URL' ) } end Sidekiq.configure_server do |config | config.redis = { url: ENV .fetch('REDIS_URL' ) } config.logger.level = Logger.const_get(ENV .fetch('LOG_LEVEL' , 'info' ).upcase.to_s) end
在环境变量配置文件.../.env中配置redis
创建配置文件.../config/sidekiq.yml,添加配置1 2 3 4 5 :concurrency: 5 :queues: - default - mailers
在模型.../app/models/user.rb中添加任务转发异步任务代码1 2 3 4 5 6 class User < ApplicationRecord def send_devise_notification (notification, *args ) devise_mailer.send(notification, self , *args).deliver_later end end
额外打开一个终端terminal窗口,在工程根目录执行命令bundle exec sidekiq -C config/sidekiq.yml -e development,该进程为异步任务处理进程
在工程根目录执行命令rails s启动服务,并访问http://127.0.0.1:3000/,尝试注册账号,成功注册将会收到确认邮件
个人信息
添加用户名,在工程根目录执行命令rails g migration add_name_to_users name:string:uniq,生成文件db/migrate/20221218065737_add_name_to_users.rb,确认文件内容1 2 3 4 5 6 class AddNameToUsers < ActiveRecord::Migration [6.1 ] def change add_column :users , :name , :string add_index :users , :name , unique: true end end
在工程根目录执行命令rails db:migrate,完成数据库表结构变更
在.../app/controllers/application_controller.rb中添加参数过滤1 2 3 4 5 6 7 8 9 10 11 class ApplicationController < ActionController::Base ... before_action :configure_permitted_parameters , if: :devise_controller? protected def configure_permitted_parameters added_attrs = [:name , :email , :password , :password_confirmation , :remember_me ] devise_parameter_sanitizer.permit :sign_up , keys: added_attrs devise_parameter_sanitizer.permit :account_update , keys: added_attrs end end
在模型.../app/models/user.rb中添加虚拟的login属性1 2 3 4 5 6 7 8 9 10 11 12 class User < ApplicationRecord ... attr_accessor :login def login= (login ) @login = login end def login @login |self .name |self .email end ... end
修改devise配置文件..../config/initializers/devise.rb,将配置config.authentication_keys取消注释,并且修改为config.authentication_keys = [:login]
重写模型.../app/models/user.rb的find_for_database_authentication1 2 3 4 5 6 7 8 9 10 11 12 class User < ApplicationRecord ... def self .find_for_database_authentication(warden_conditions) conditions = warden_conditions.dup conditions[:email ]&.downcase! login = conditions.delete(:login ) where(conditions.to_hash).where( ["lower(name) = :value or lower(email) = :value" , { value: login.downcase }] ).first end end
在模型.../app/models/user.rb中添加校验1 2 3 4 5 6 7 8 9 10 11 12 13 class User < ApplicationRecord ... validates :name , presence: true , uniqueness: { case_sensitive: false } validates_format_of :name , with: /^[a-zA-Z0 -9_¥.]*$/ , multiline: true validate :validate_name def validate_name errors.add(:name , :invalid ) if User.where(email: name).exists? end ... end
修改登录界面.../app/views/devise/sessions/new.html.erb,将登录的凭证调整为login属性1 2 3 4 5 6 7 8 9 10 <div class ="field" > <%= f.label :email %><br /> <%= f.email_field :email , autofocus: true , autocomplete: "email" %> </div > <div class ="field" > <%= f.label "email or username" %><br /> <%= f.text_field :login , autofocus: true , placeholder: "Enter email or username" %> </div >
修改注册页面.../app/views/devise/registrations/new.html.erb,添加属性name1 2 3 4 5 6 7 8 9 <div class ="field" > <%= f.label :email %><br /> <%= f.email_field :email , autofocus: true , autocomplete: "email" %> </div > <div class ="field" > <%= f.label :name %><br /> <%= f.text_field :name , placeholder: "Username" %> </div >
修改用户信息编辑页面.../app/views/devise/registrations/edit.html.erb,添加属性name1 2 3 4 5 6 7 8 9 <div class ="field" > <%= f.label :email %><br /> <%= f.email_field :email , autofocus: true , autocomplete: "email" %> </div > <div class ="field" > <%= f.label :name %><br /> <%= f.text_field :name , placeholder: "Username" %> </div >
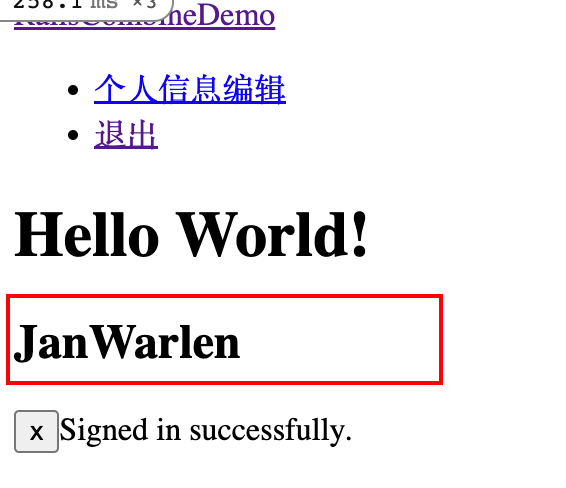
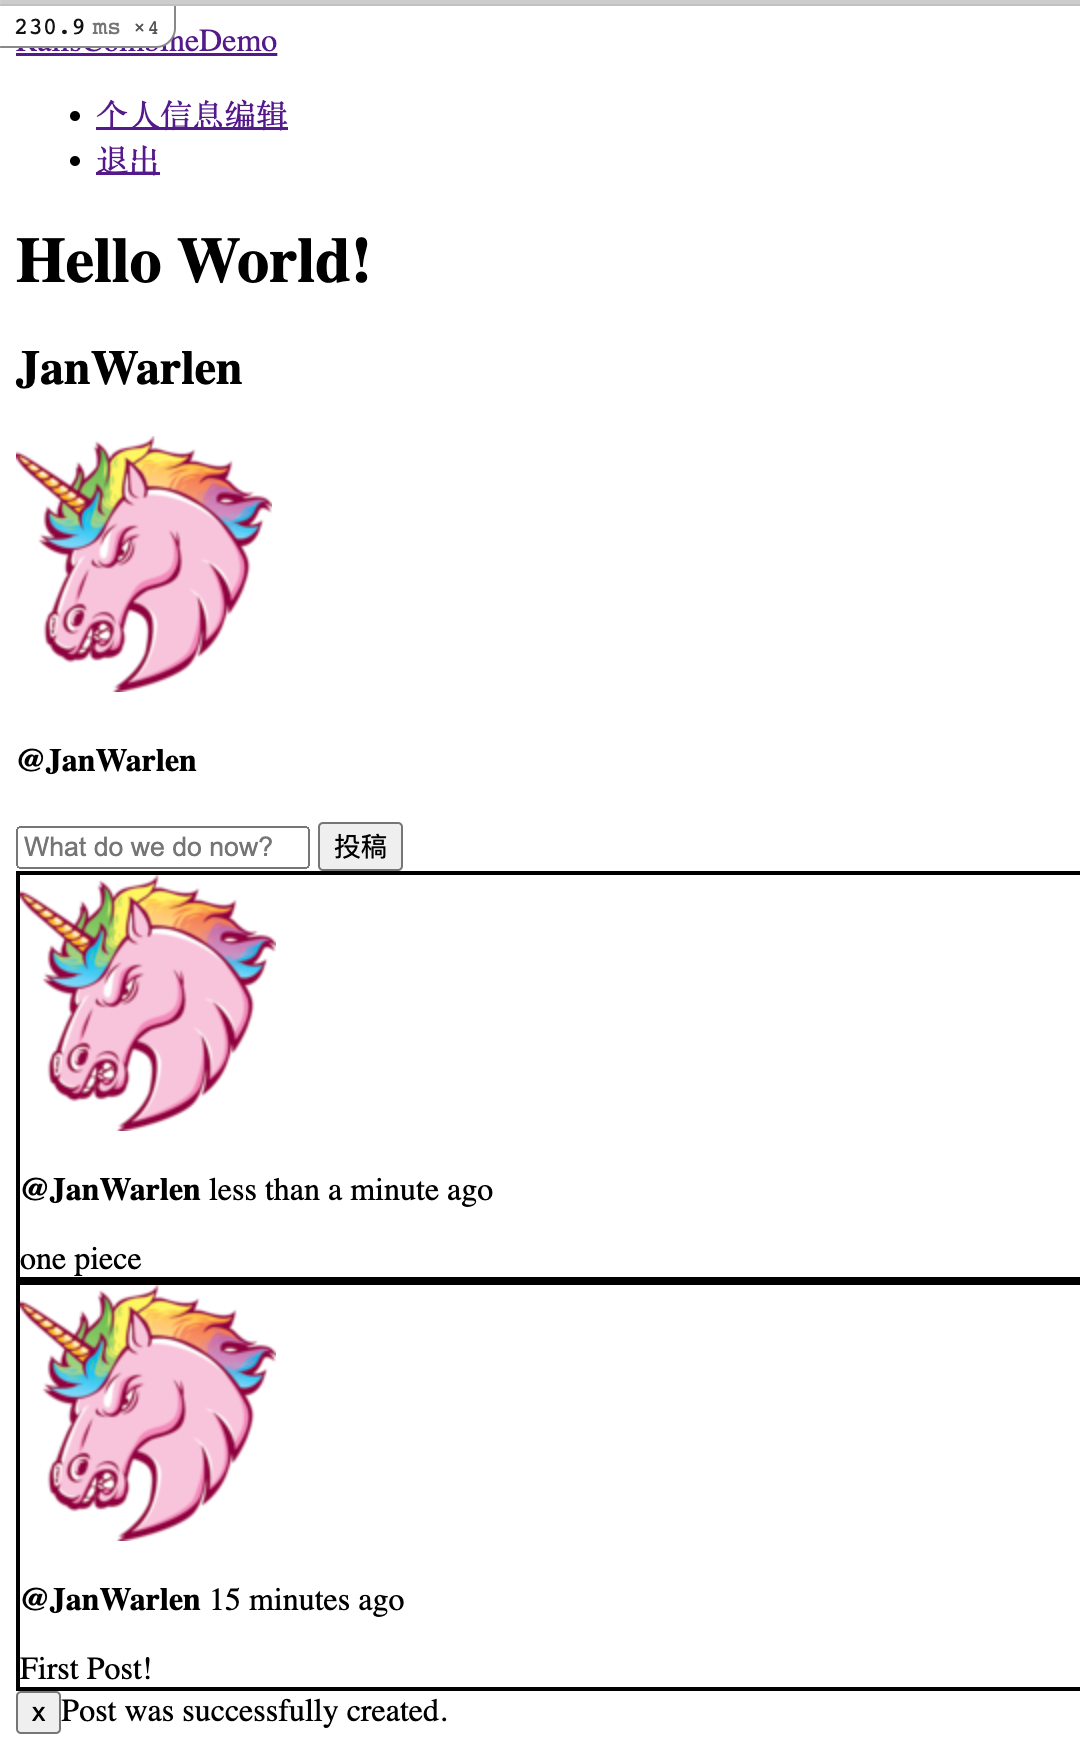
修改首页.../app/views/home/index.html.erb,打印当前登录人name1 <h2 > <%= @user .name %></h2 >
修改首页对应的controller .../app/controllers/home_controller.rb,在index中返回当前登录用户1 2 3 4 5 6 class HomeController < ApplicationController def index @user = current_user end end
在工程根目录执行命令rails db:reset,清理数据库(该步骤需要停止异步任务sidekiq和服务进程,避免数据库占用导致无法清理数据库)
额外打开一个终端terminal窗口,在工程根目录执行命令bundle exec sidekiq -C config/sidekiq.yml -e development,启动异步任务
在工程根目录执行命令rails s启动服务,并访问http://0.0.0.0:3000/ 完成新用户注册
使用注册时填写的用户名登录
头像(image_processing、Active Storage)
书中使用组件paperclip已经deprecated,切换为ActiveStorage
在配置文件Gemfile中添加依赖gem "image_processing", ">= 1.2",并在工程根目录执行bundle install
在工程根目录执行rails active_storage:install创建表结构迁移脚本,再执行rails db:migrate完成表创建
在模型.../app/models/user.rb中添加头像属性1 2 3 4 5 class User < ApplicationRecord ... has_one_attached :avatar ... end
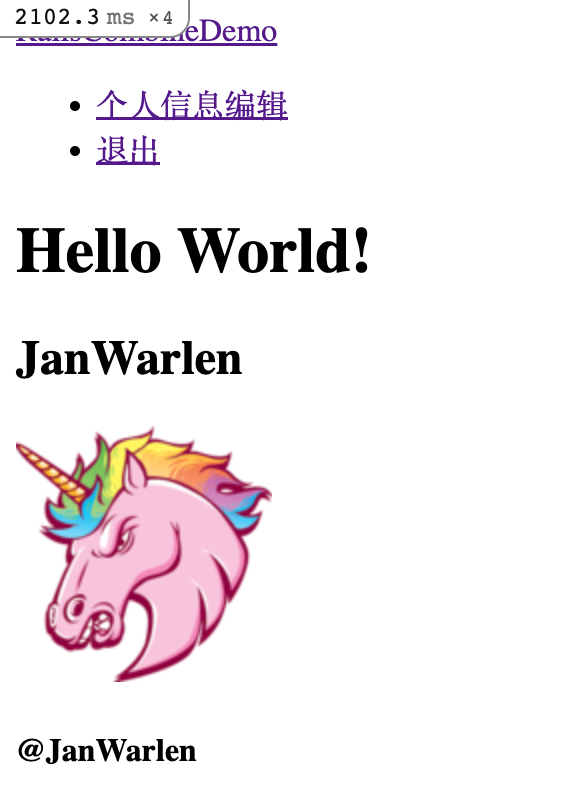
修改个人信息编辑页面.../app/views/devise/registrations/edit.html.erb,在email上方添加1 2 3 4 5 6 7 8 9 10 11 12 13 <div class ="field" > <div > <% if current_user.avatar.attached? %> <%= image_tag current_user.avatar.variant(resize: "128x128!" ), class: "rounded-circle m-4" %> <% end %> </div > <div > <div > <%= f.label :avatar %><br /> <%= f.file_field :avatar %> </div > </div > </div >
在首页.../app/views/home/index.html.erb中添加1 2 3 4 5 6 7 8 9 10 11 12 13 14 15 <div class ="" > <div class ="" > <div class ="" > <% if current_user.avatar.attached? %> <%= image_tag current_user.avatar.variant(resize: "128x128!" ), class: "rounded-circle m-4" %> <% end %> <div class ="" > <h4 class ="" > <%= "@#{@user .name} " %></h4 > <p class ="" > </p > </div > </div > </div > </div >
在.../app/controllers/application_controller.rb中的属性过滤添加头像added_attrs = [:name, :email, :password, :password_confirmation, :remember_me, :avatar]
在工程根目录执行命令rails s启动服务,并访问http://0.0.0.0:3000/
登录后进入个人信息编辑界面,上传头像,保存更新(Current password (we need your current password to confirm your changes)需要最下方的输入框输入密码以通过更新拦截)
更新成功后,首页即可出现头像
个人投稿(关联表)
在工程根目录执行命令rails g model post user_id:integer body:text创建投稿模型
在工程根目录执行命令rails db:migrate完成表创建
在模型.../app/models/user.rb中添加投稿关联1 2 3 4 5 class User < ApplicationRecord ... has_many :posts , inverse_of: :user ... end
在模型.../app/models/post.rb中添加用户关联关系1 2 3 class Post < ApplicationRecord belongs_to :user , inverse_of: :posts end
在首页.../app/controllers/home_controller.rb中添加参数1 2 3 4 5 6 class HomeController < ApplicationController def index @user = current_user @post = Post.order('created_at desc' ) end end
在首页.../app/views/home/index.html.erb中添加投稿展示1 2 3 4 5 6 <div > ... <div > <%= render partial: "post" , collection: @posts %> </div > </div >
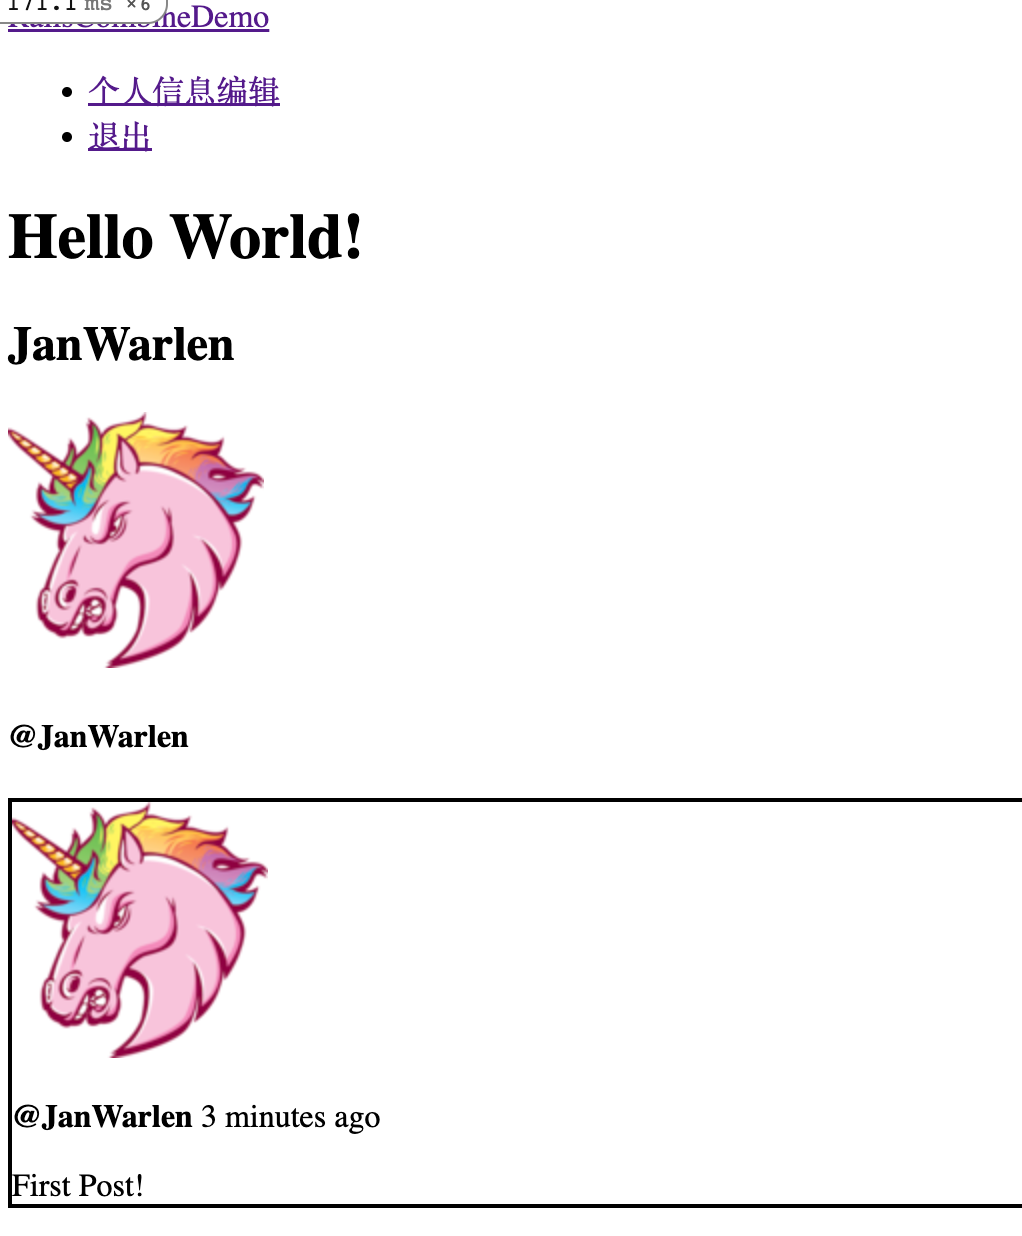
添加投稿展示页面.../app/views/home/_post.html.erb1 2 3 4 5 6 7 8 9 10 11 12 <div style ="border:2px solid black;" > <div class ="" > <%= image_tag post.user.avatar.variant(resize: "128x128!" ), class: "rounded-circle m-4" %> </div > <div class ="" > <p class ="" > <strong > <%= "@#{post.user.name} " %></strong > <span class ="" > <%= time_ago_in_words(post.created_at) %> ago</span > </p > <%= post.body %> </div > </div >
在工程根目录执行命令rails c,并在控制台执行User.last.posts.create({body: "First Post!"})创建第一个投稿(exit即可退出控制台)
在工程根目录执行命令rails s启动服务,登录后即可看到投稿展示
个人投稿 - 新增
在工程根目录执行命令rails g controller posts create
修改路由配置.../config/routes.rb,删除get 'posts/create',添加路由配置resources :posts, only: [:create]
在首页.../app/views/home/index.html.erb添加投稿表单和按钮(在投稿展示上方)1 2 3 4 5 6 7 8 9 10 11 12 <div > <%= form_with model: Post .new do |f | %> <div class ="" > <%= f.text_field :body , class: "" , placeholder: "What do we do now?" %> <span class ="" > <%= f.submit "投稿" , class: "" %> </span > </div > <% end %> <%= render partial: "post" , collection: @posts %> </div >
在对应.../app/controllers/posts_controller.rb中完善投稿保存代码1 2 3 4 5 6 7 8 9 10 11 12 13 14 15 16 17 class PostsController < ApplicationController def create if current_user.posts.create(post_params) flash[:notice ] = 'Post was successfully created.' else flash[:error ] = 'Something went wrong.' end redirect_to :root end protected def post_params params.require (:post ).permit(:body ) end end
在工程根目录执行命令rails s启动服务,登录后可以在输入框内输入文本并点击投稿按钮提交保存
个人投稿 - 分页查询(kaminari)
在Gemfile中添加gem依赖gem 'kaminari'
在工程根目录执行命令bundle install安装gem依赖
在工程根目录执行命令rails g kaminari:config生成分页组件配置
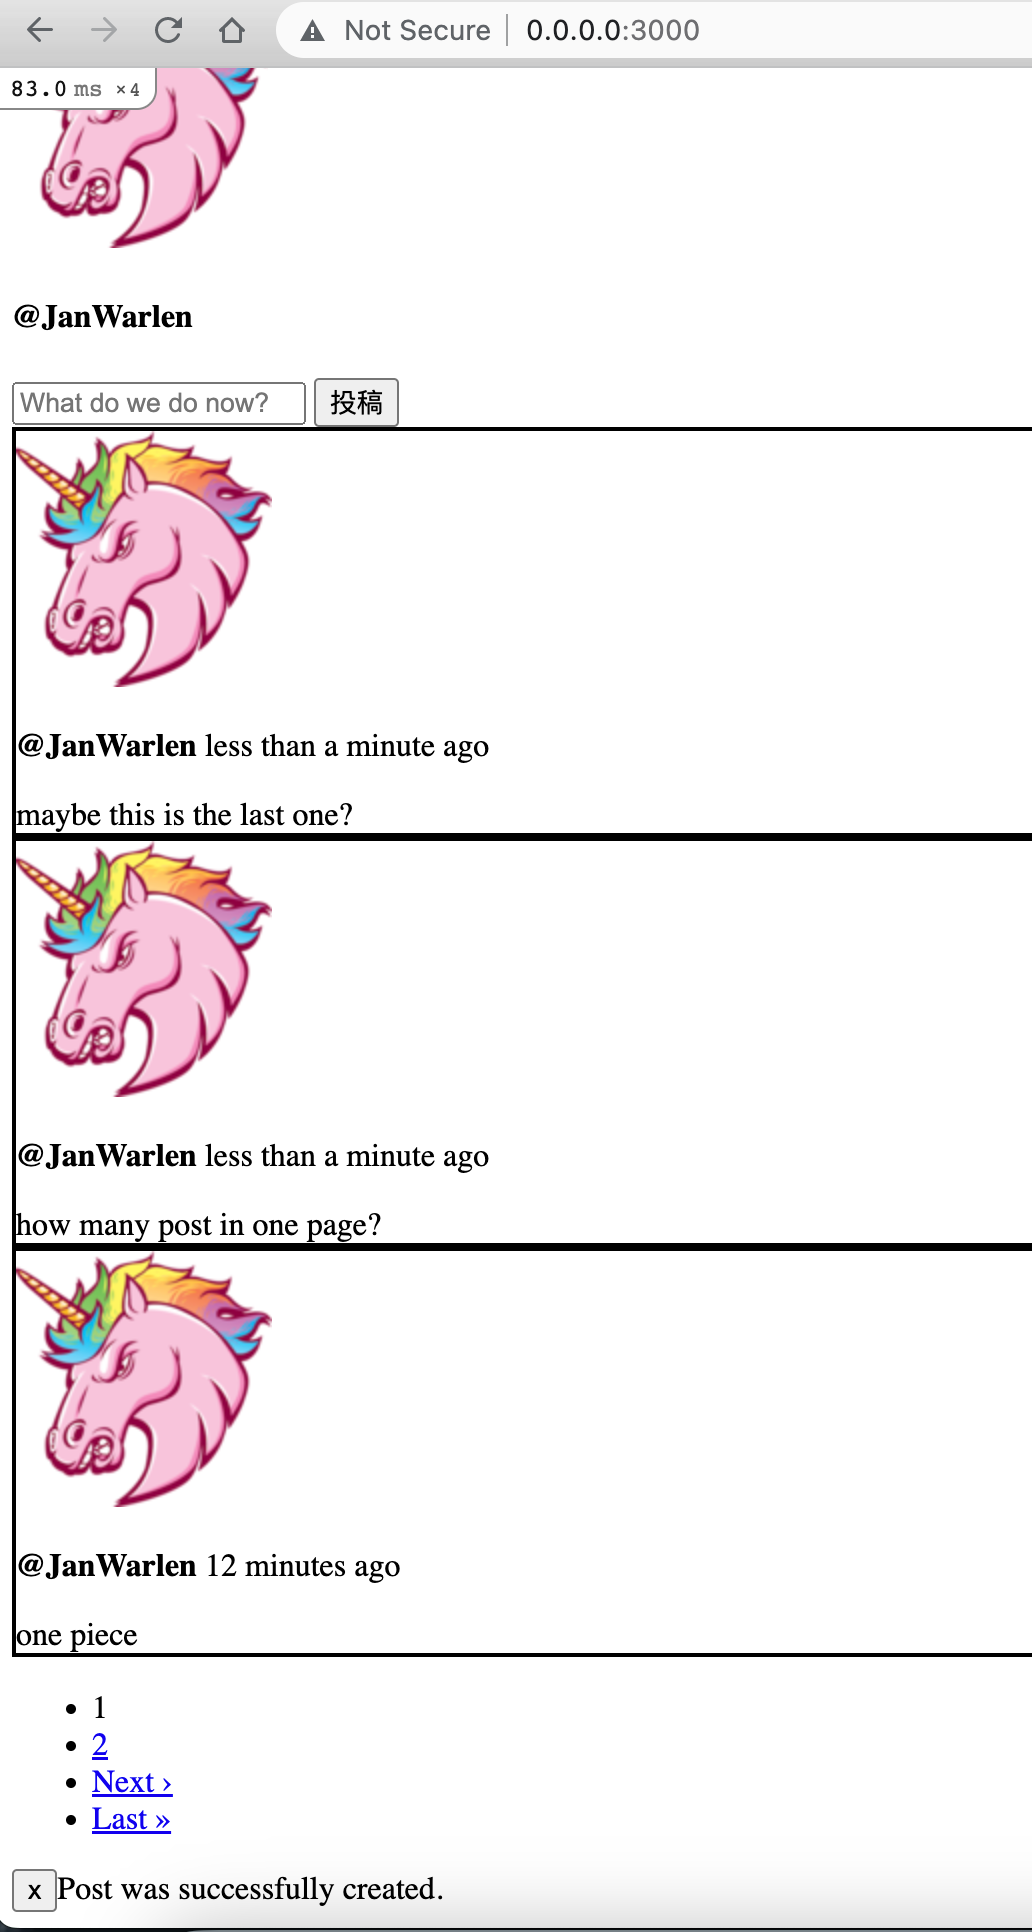
修改分页配置.../config/initializers/kaminari_config.rb,取消配置config.default_per_page注释,并修改值为3(改小是为了方便体现分页功能)
修改首页处理器.../app/controllers/home_controller.rb,修改投稿查询代码为@posts = Post.order('created_at desc').page params[:page]
修改首页.../app/views/home/index.html.erb添加分页1 2 <%= render partial: "post" , collection: @posts %> <%= paginate @posts %>
在工程根目录执行命令rails g kaminari:views bootstrap4生成分页前端视图文件
在工程根目录执行命令rails s启动服务,并人工添加几条投稿,即可看到分页效果
投稿统计(counter_culture)和登录时间
在Gemfile中添加统计计数gem依赖gem 'counter_culture'
在工程根目录执行命令bundle install安装gem依赖
在工程根目录执行命令rails g counter_culture User posts_count生成表结构迁移文件
在模型.../app/models/post.rb添加统计数据更新配置1 2 3 4 class Post < ApplicationRecord ... counter_culture :user end
在工程根目录执行命令rails db:migrate完成表结构升级
在工程根目录执行命令rails c,并在控制台执行Post.counter_culture_fix_counts更新统计数据(之前新增的投稿)
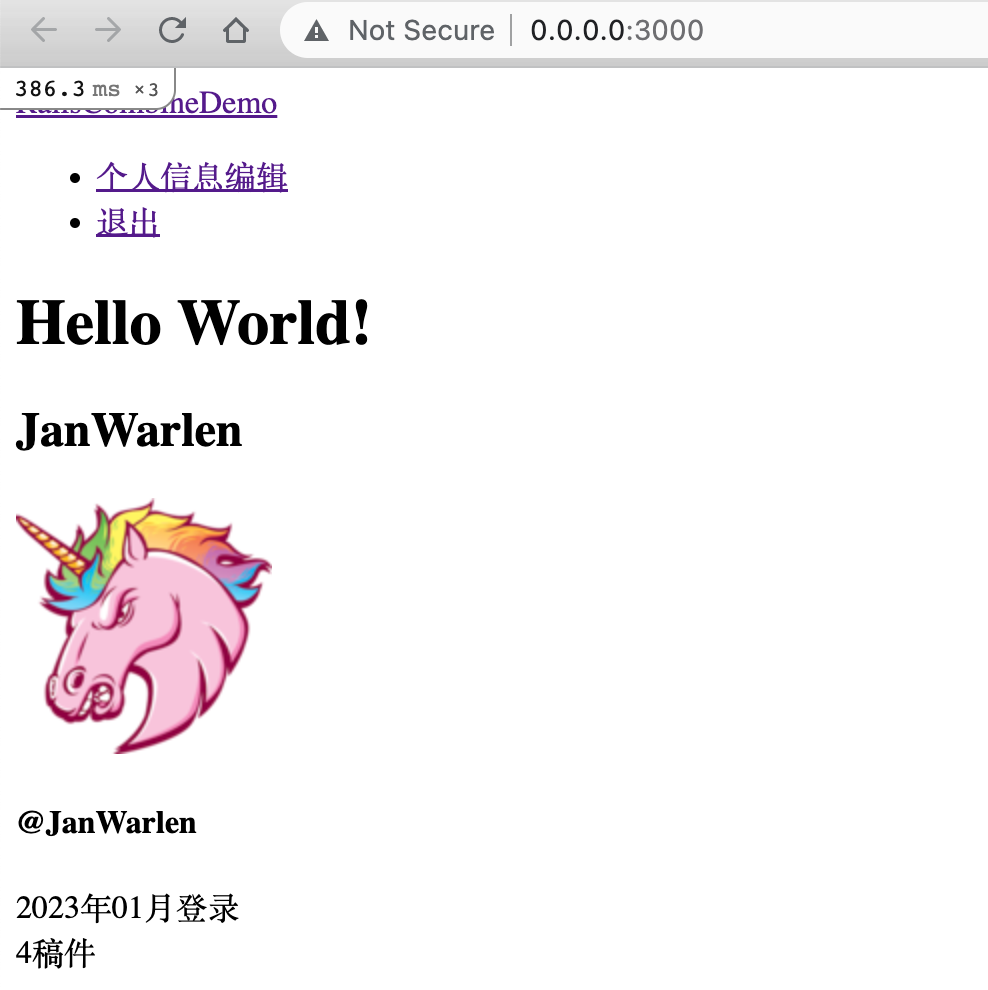
在模型.../app/models/user.rb中添加自定义方法1 2 3 4 5 6 class User < ApplicationRecord ... def created_month created_at.strftime('%Y年%m月' ) end end
修改首页.../app/views/home/index.html.erb添加登录信息和投稿统计1 2 3 4 5 6 7 <div class ="" > <h4 class ="" > <%= "@#{@user .name} " %></h4 > <p class ="" > <span > <%= "#{@user .created_month} 登录" %></span > <br /> <span > <%= @user .posts_count %>稿件</span > </p > </div >
在工程根目录执行命令rails s启动服务,登录后即可看到信息
权限管理(activeadmin)
在Gemfile中添加权限管理gem依赖gem 'activeadmin'
在工程根目录执行命令bundle install安装gem依赖
在工程根目录执行命令rails g active_admin:install --skip-users生成表结构迁移文件
在工程根目录执行命令rails db:migrate完成表结构升级
修改配置文件.../config/initializers/active_admin.rb,将配置config.comments_menu取消注释
在工程根目录执行命令rails s启动服务,访问http://0.0.0.0:3000/admin 即可查看dashboard界面
在工程根目录执行命令rails g active_admin:resource User,即可将用户添加到dashboard界面
在工程根目录执行命令rails g active_admin:resource Post,即可将投稿添加到dashboard界面
在工程根目录执行命令rails g migration AddRoleToUser role:integer为模型User添加角色属性
在工程根目录执行命令rails db:migrate完成表结构升级
在模型.../app/models/user.rb中添加角色枚举1 2 3 4 5 class User < ApplicationRecord ... enum role: { user: 0 , admin: 1 } ... end
在工程根目录执行命令rails c进入控制台界面,并执行命令User.last.role和User.last.admin?确认角色
修改权限配置文件.../config/initializers/active_admin.rb将配置config.authentication_method取消注释
在处理器.../app/controllers/application_controller.rb中添加权限验证方法1 2 3 4 5 6 7 8 9 10 11 12 class ApplicationController < ActionController::Base ... rescue_from SecurityError do |e | redirect_to root_url, notice: 'no admin right' end ... protected ... def authenticate_admin_user! raise SecurityError unless current_user.try(:admin? ) end end
在工程根目录执行命令rails s启动服务,访问http://0.0.0.0:3000/admin 确认无法进入dashboard界面(无admin角色权限)
在控制台界面执行User.last.update_attribute(:role, :admin),并再次执行步骤12的User.last.role和User.last.admin?确认角色
再次访问http://0.0.0.0:3000/admin 即可查看dashboard界面